What an Author Page Should Do
A good author page is not just a paragraph about your background. It should help a visitor decide whether to read your book, join your list, invite you onto a podcast, or share your work with someone else.
For most authors, the useful structure is simple:
- A clear author name and professional photo
- A bio written for readers, not a resume database
- Links to your books
- Social or contact links where relevant
- A mailing-list signup or other next step
- Consistent branding with your book pages
If you are building a fuller site, your author page should connect cleanly to your book pages. You can use it as the hub, while each book page handles the details for a specific title. For the book-specific setup, see How to Create a Book Website.
How to Create an Author Page in HostingAuthors.com
In HostingAuthors.com, the public author hub is available on the Established Author and Prolific Author plans. The free New Author plan is enough to create a public book page, but the author hub at /authors/your-author-url starts on plan 2 and above.
1. Sign in and open your author settings
Log in to your HostingAuthors.com portal. From the dashboard, go to your author profile settings. This is where you manage the public author hub: bio, headshot, social links, colors, and your author URL.
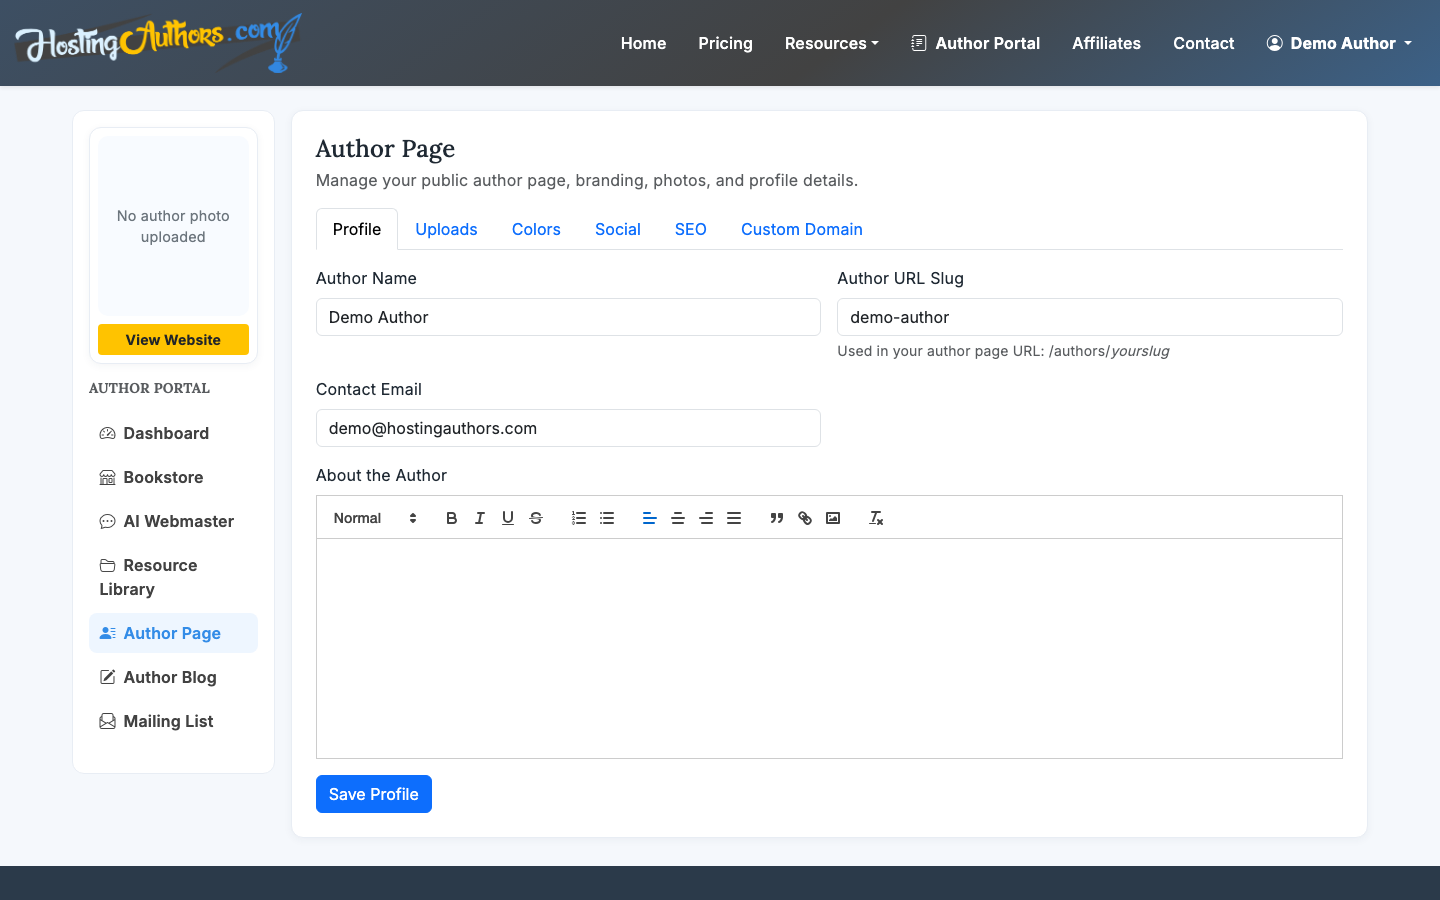
Choose an author URL that is easy to read and close to your public author name. If your name is taken, add a middle initial, genre, or author suffix instead of using a long string of numbers.
2. Add your author photo
Use a clear headshot where your face is easy to recognize at small sizes. You do not need a studio portrait, but you should avoid cropped group photos, heavy filters, or images where the background competes with your face.
Good author photos usually have:
- Your face visible and well lit
- Simple background
- Cropping that works as a square or circle
- A current look that matches your public presence
If you write under a pen name and do not want to use a face photo, use a consistent brand image instead. That could be a logo, illustrated portrait, or atmospheric image that fits your genre. The tradeoff is trust: real photos tend to perform better for media outreach and speaking opportunities.
3. Write a reader-first bio
Your author bio should be specific without becoming a full life story. For most authors, 120 to 250 words is enough. Lead with what you write and who it is for, then add credibility, personality, and a practical next step.
A strong structure looks like this:
- One sentence on your genre, topic, or promise
- One to two sentences on your books or expertise
- One sentence of human detail that fits your brand
- One sentence telling readers what to explore next
For example, instead of writing “Jane Smith has always loved stories,” write something closer to: “Jane Smith writes fast-paced historical mysteries about women solving crimes in places that underestimated them.” That immediately tells readers whether they are in the right place.
4. Set your author colors and branding
Use colors that feel connected to your books without making the page hard to read. HostingAuthors.com lets you set author profile colors, and your book pages can also use palettes derived from cover art.
If you write in one genre, keep the author hub visually close to your covers. If you write across genres, choose a more neutral author brand and let each book page carry its own mood.
Good defaults:
- Dark text on a light background for long bios
- One accent color for buttons and links
- Enough contrast for mobile reading
- No more than two dominant brand colors
5. Connect your books
Your author page should make it easy for readers to move from you to your books. In HostingAuthors.com, your author hub can sit alongside your public book pages, so readers can browse from the author profile into individual title pages.
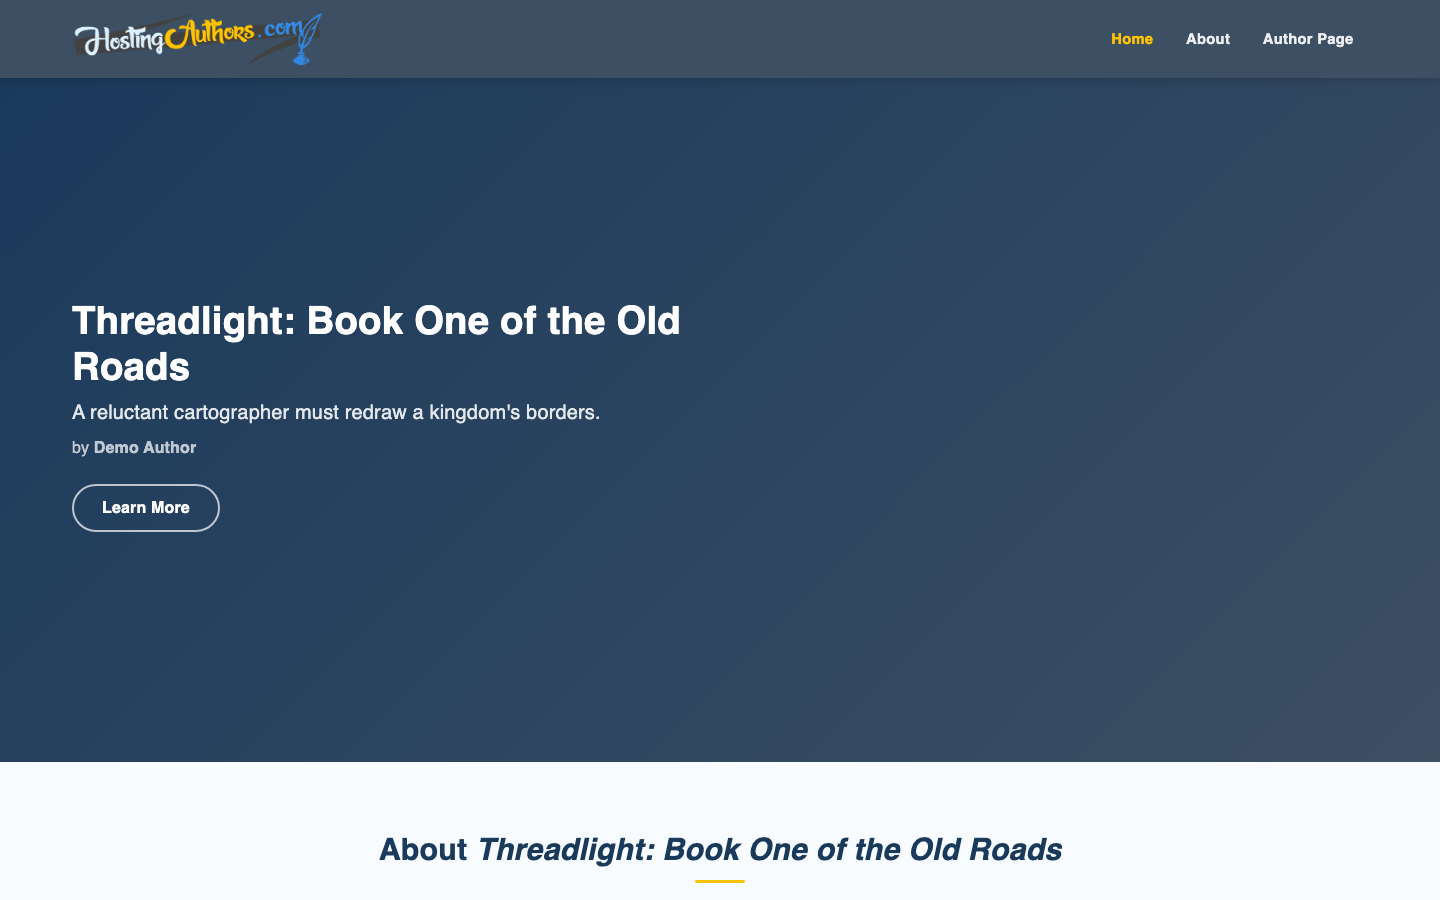
Each book page can include the cover, synopsis, retailer links, reviews, FAQ, and more. If your goal is a broader author presence, use the author page as the hub and your book pages as focused sales or discovery pages. For the full-site approach, read How to Create an Author Website.
6. Add social links and contact paths
Only add links you actually maintain. A dormant social profile can make an author look less active than no profile at all.
Useful links may include:
- Newsletter signup
- Instagram, TikTok, Facebook, LinkedIn, or YouTube
- Podcast RSS or blog
- Publisher page
- Speaking or media contact page
If you sell books directly, make sure your book pages also include clean purchase links or a direct bookstore option. HostingAuthors.com supports retailer links and, on paid plans, direct sales through PayPal, Authorize.net, or Stripe where authors keep 100% of the sale revenue. See How to Sell Ebooks on Your Website for that setup.
7. Preview the public page
Before sharing your author page, preview it as a first-time visitor. Read it on your phone, not just your laptop. Mobile readers will notice unclear buttons, long paragraphs, and awkward image crops immediately.
Check for:
- Your name is obvious at the top
- Your bio explains what you write within the first few lines
- Your photo loads cleanly
- Book links go to the right pages
- Social links open correctly
- The next step is clear
8. Publish and use the link consistently
Once your author page is ready, use the same URL across your public presence. Add it to retailer profiles, email signatures, podcast guest forms, media kits, social bios, and launch materials.
A consistent author page helps search engines and readers connect your work across the web. Over time, it can become the page people use when they search your name plus “books,” “author,” “bio,” or a specific title.
