How to create an author website
1. Choose the right author website plan
Start by choosing the plan that matches what you need now. HostingAuthors.com has a permanently free New Author plan, which works well if you want to create a professional public book page without committing to monthly software.
If you want an author hub, mailing-list tools, AI assistance, or direct bookstore features, look at the paid plans. Established Author is $9/month or $90/year. Prolific Author is $19/month or $190/year. SelfPublishing.pro AuthorPass holders can unlock Established Author for free.
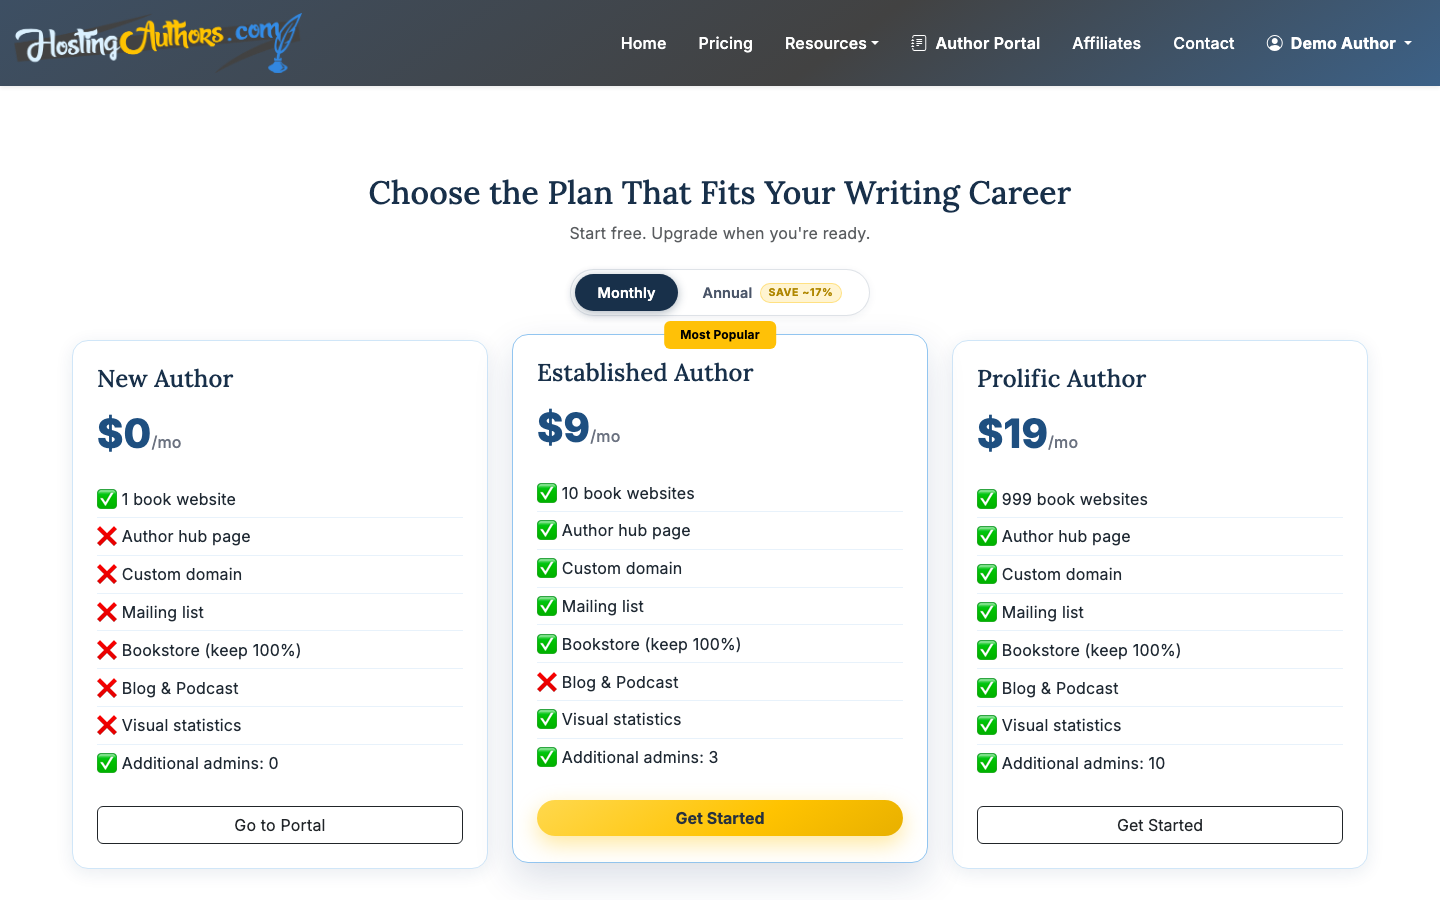
You can upgrade later, so do not overbuild on day one. The main decision is whether you only need a book page now or whether you want your broader author presence live from the start.
2. Create your account
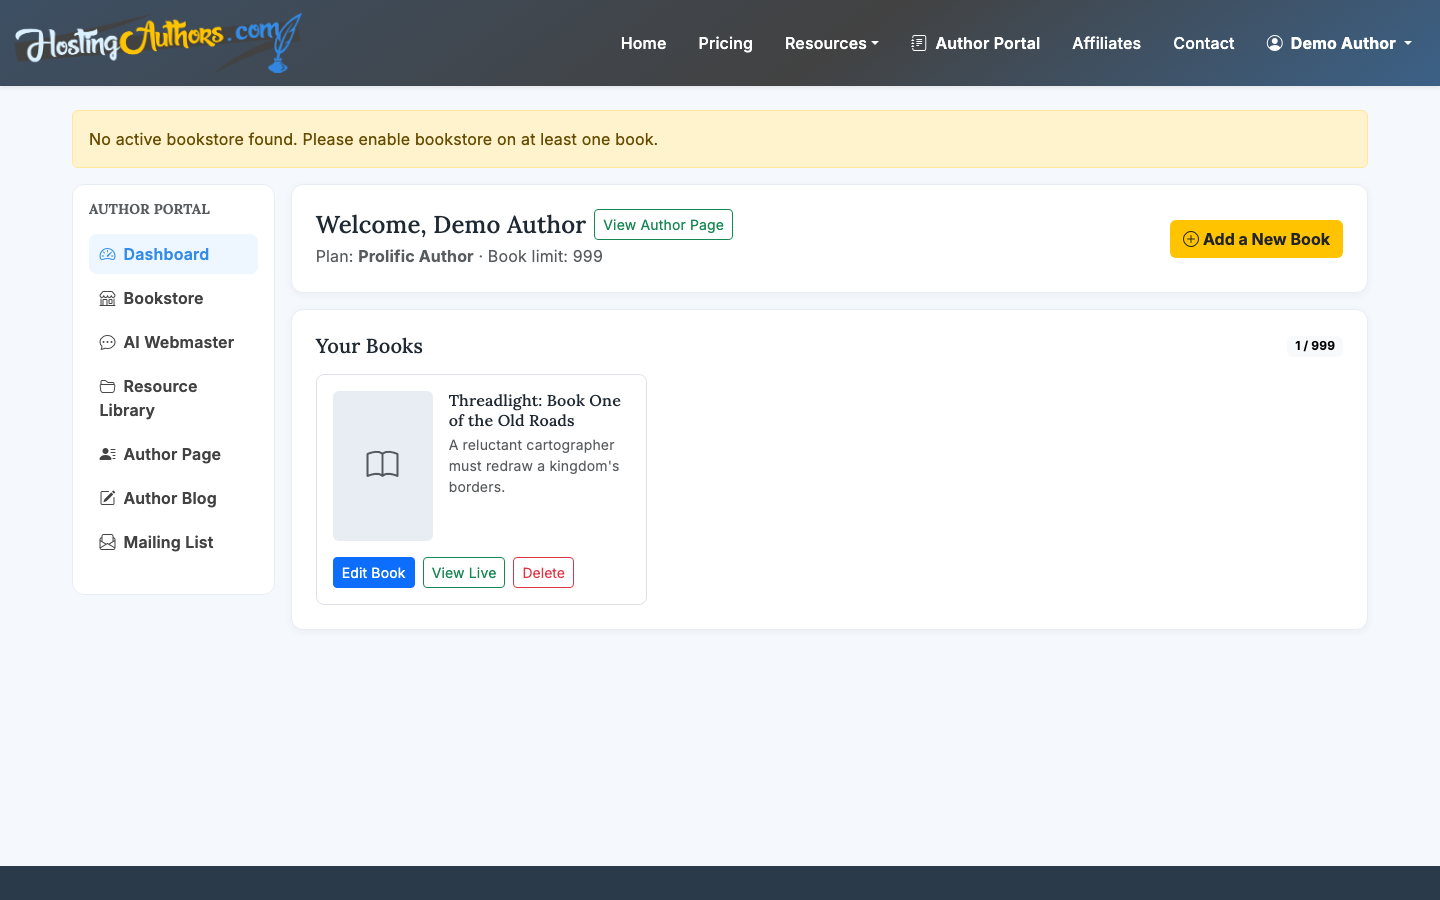
Sign up with email and password or Google OAuth. After you create your account, you will land in the author portal where your books and site tools live.
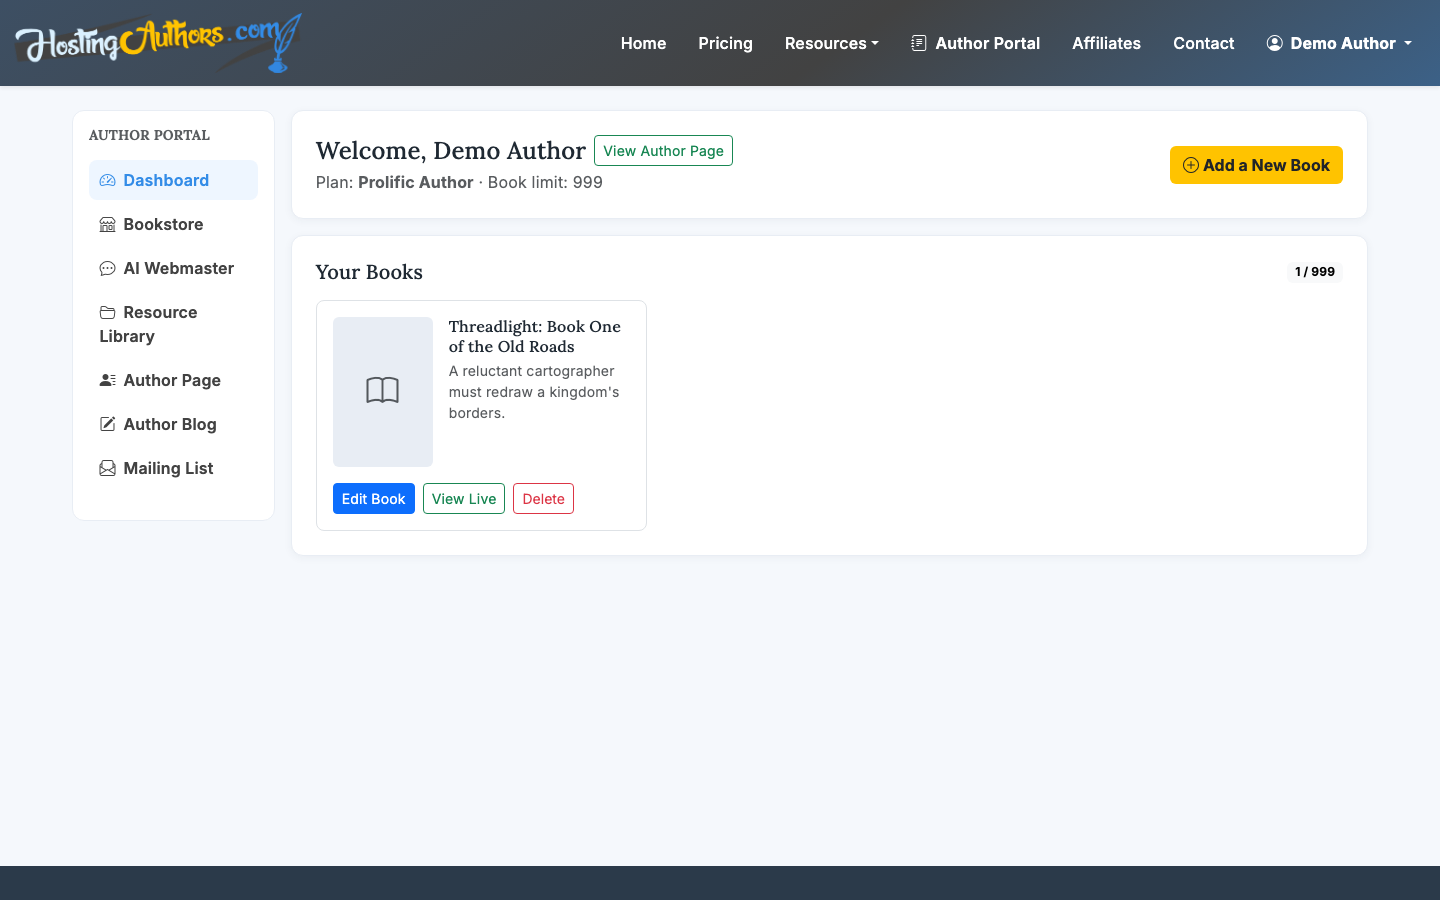
The dashboard is your control center. From here, you can create a new book page, edit existing books, view public pages, and manage the author features available on your plan.
3. Add your first book
Create a new book and add the essentials first:
- Title and subtitle
- Cover image
- Book description or synopsis
- ISBN, publisher, and other metadata if available
- Genre or positioning details
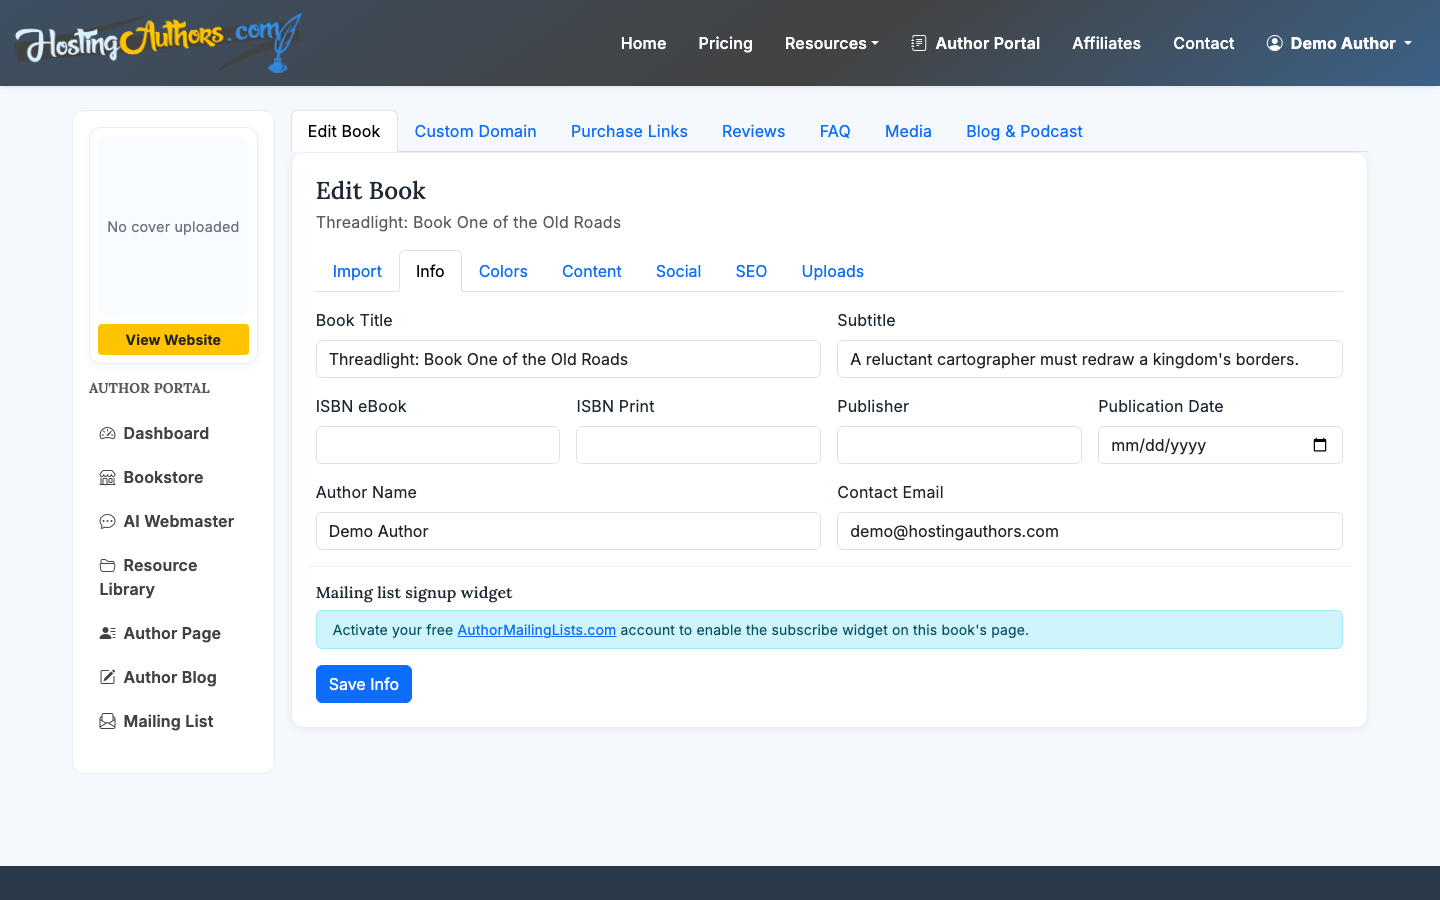
HostingAuthors.com includes an AI Webmaster chat that can help build a page from a cover image or buy URL. That is useful when you already have a retailer listing and want to avoid retyping every detail.
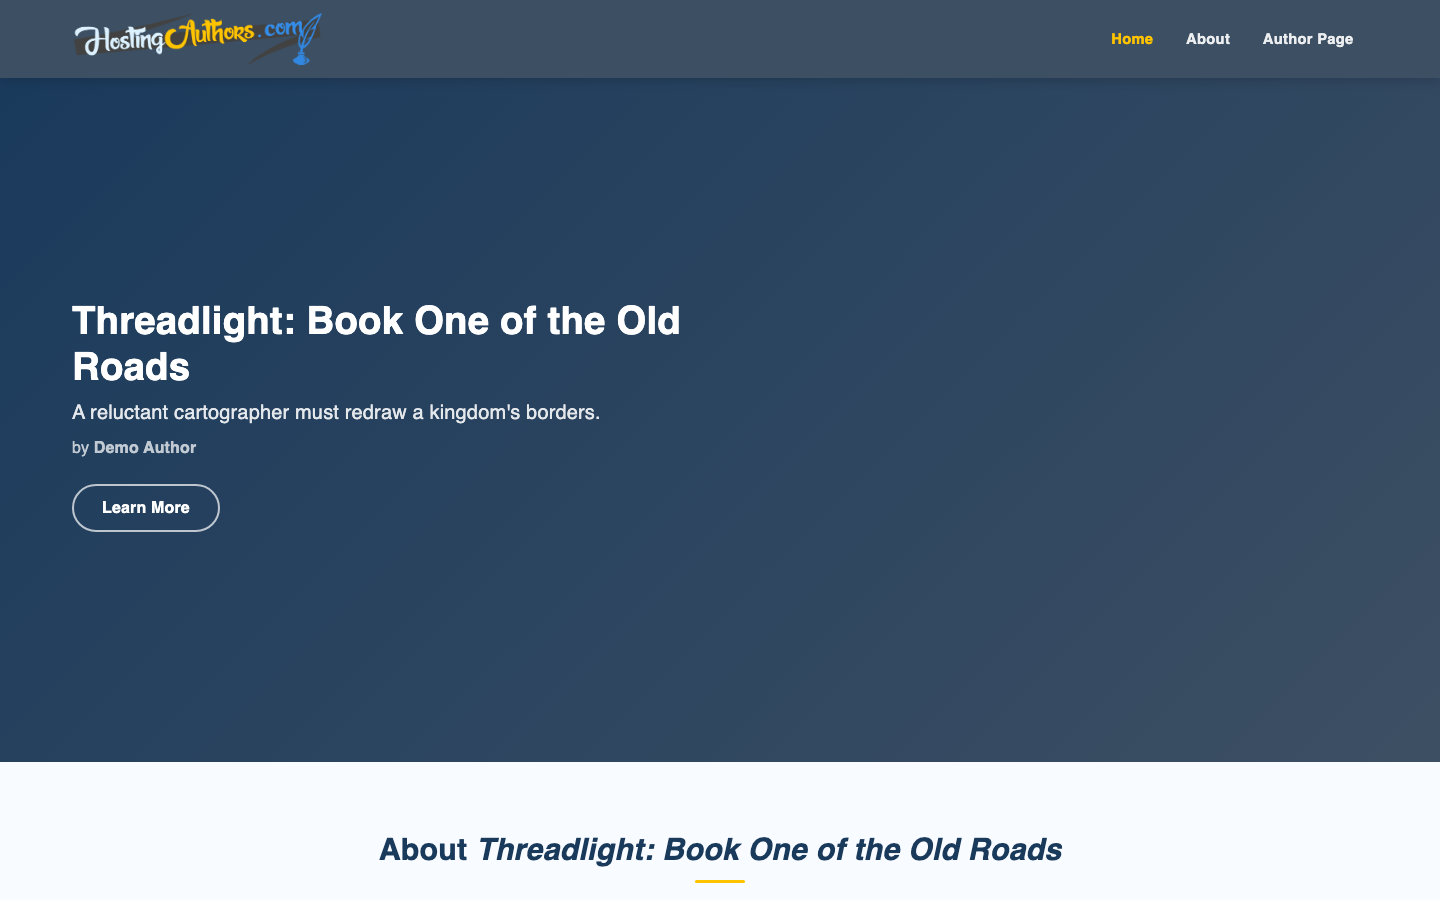
4. Customize the public book page
Your public book page is where readers see the cover, synopsis, retailer links, FAQ, reviews, and other book-specific content. HostingAuthors.com gives each book its own page at a URL like hostingauthors.com/your-book-slug.
Use the page to answer the questions a reader has before buying:
- What is the book about?
- Who is it for?
- Where can I buy it?
- Is it part of a series?
- What do other readers or reviewers say?
Keep the page direct. A good book page usually needs a strong cover, a concise hook, a readable synopsis, and obvious purchase options. If you want a deeper guide for book-specific pages, see How to Create a Book Website. Cover images have their own sizing and quality requirements, so read How to Add Book Covers to Website before you upload.
5. Add purchase links
Next, add your retailer links. HostingAuthors.com supports common bookstore destinations such as Amazon, Barnes & Noble, Apple Books, Kobo, and direct retailer URLs.
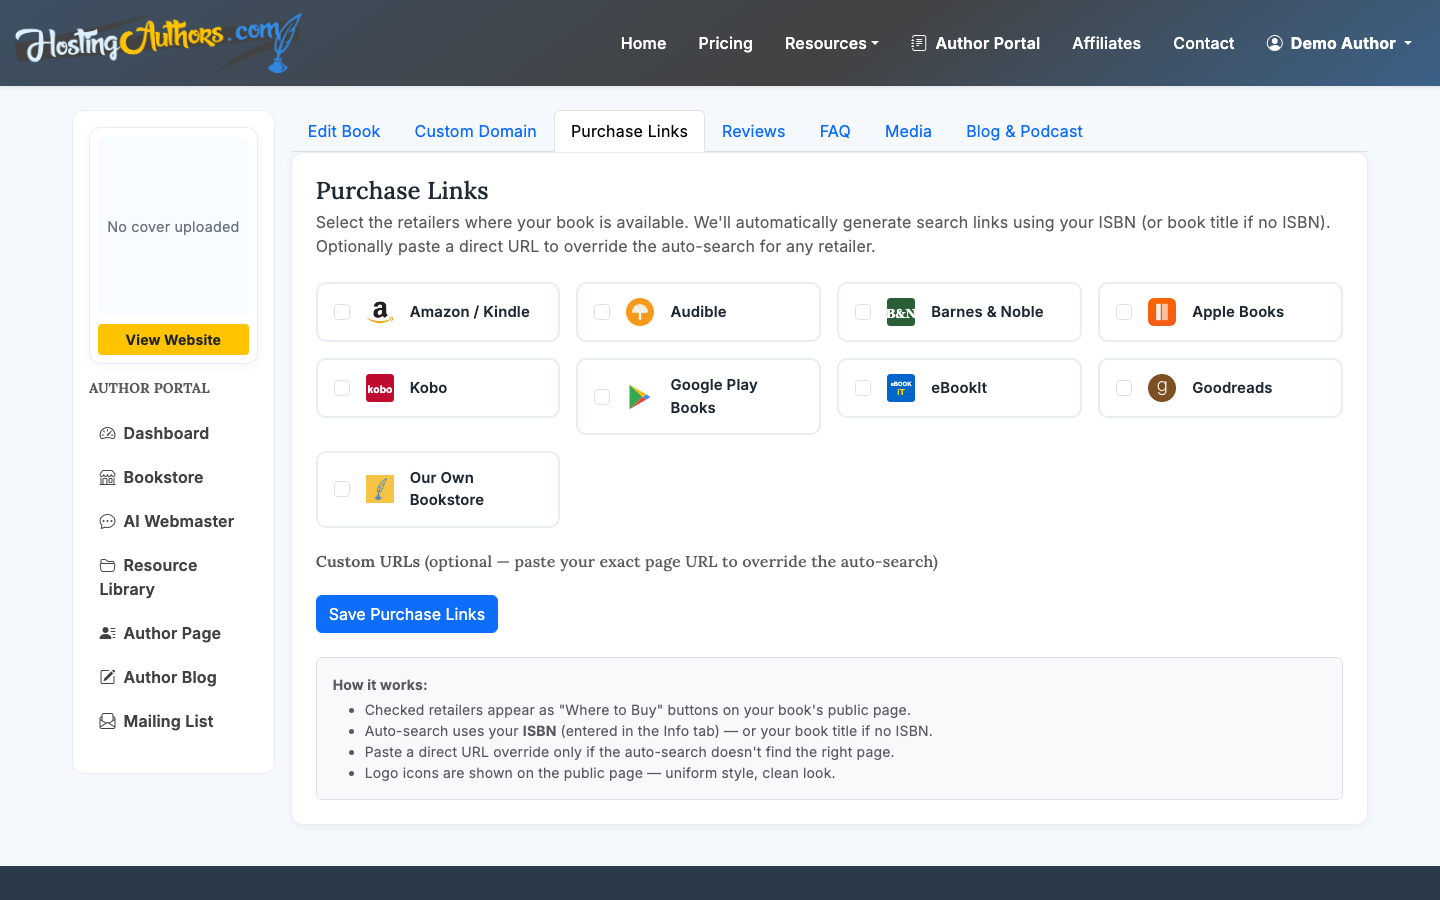
Put the most important links first. For many authors, that means Amazon first, then other major retailers. If your audience strongly prefers a specific store, make that link prominent.
6. Build your author hub
On Established Author and Prolific Author plans, you can create an author hub with your bio, headshot, social links, colors, and public author URL. This is the part of your site that represents you, not just one book.
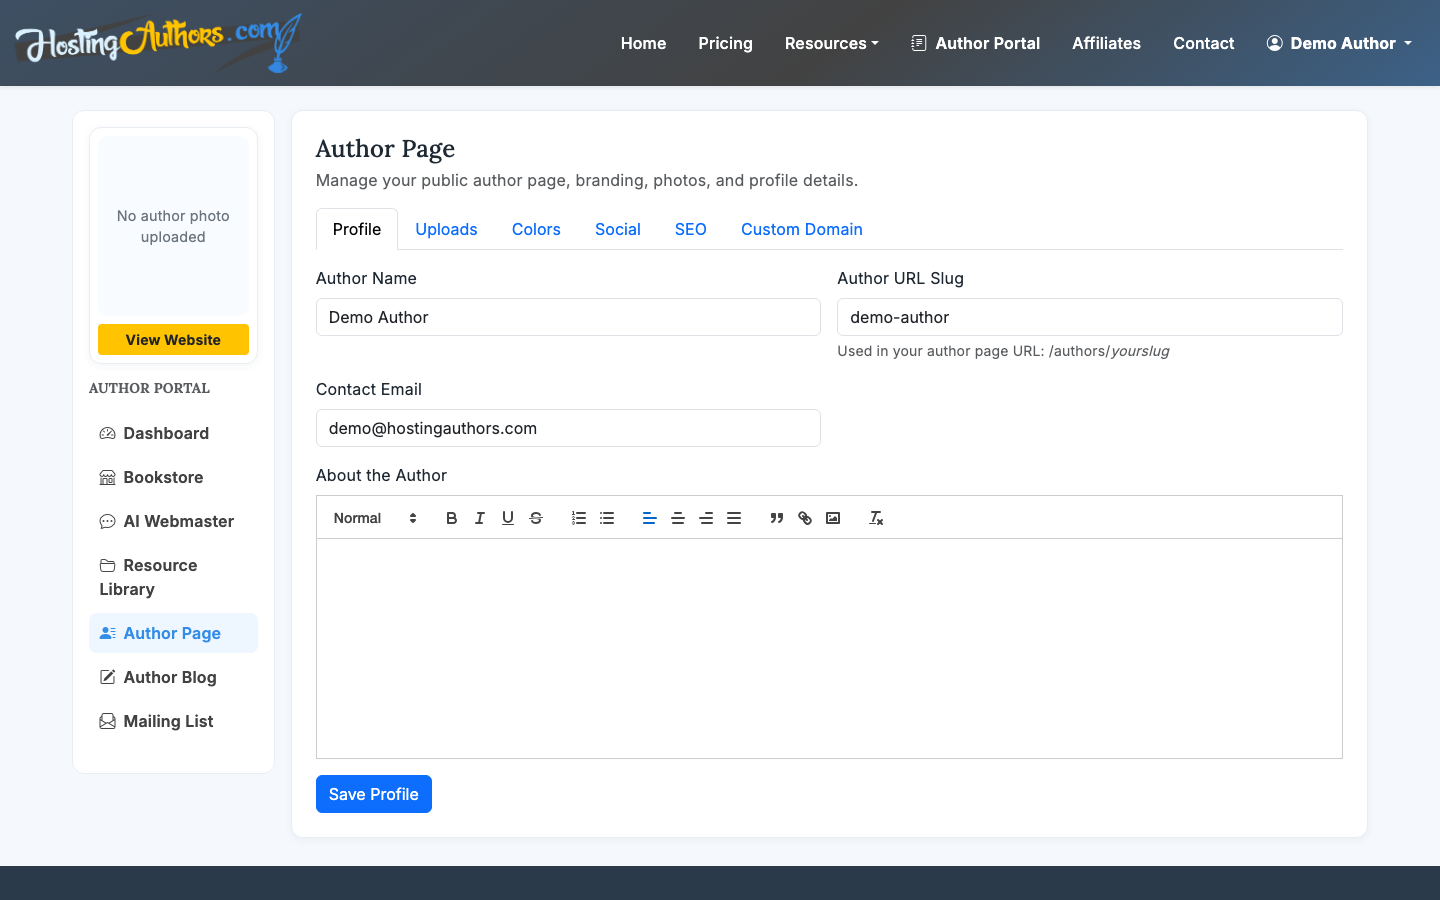
A useful author bio does not need to be long. Aim for 100-200 words for the main version. Include your genre, credibility, location if relevant, and the kind of work readers can expect from you.
For a deeper walkthrough, read How to Make an Author Page.
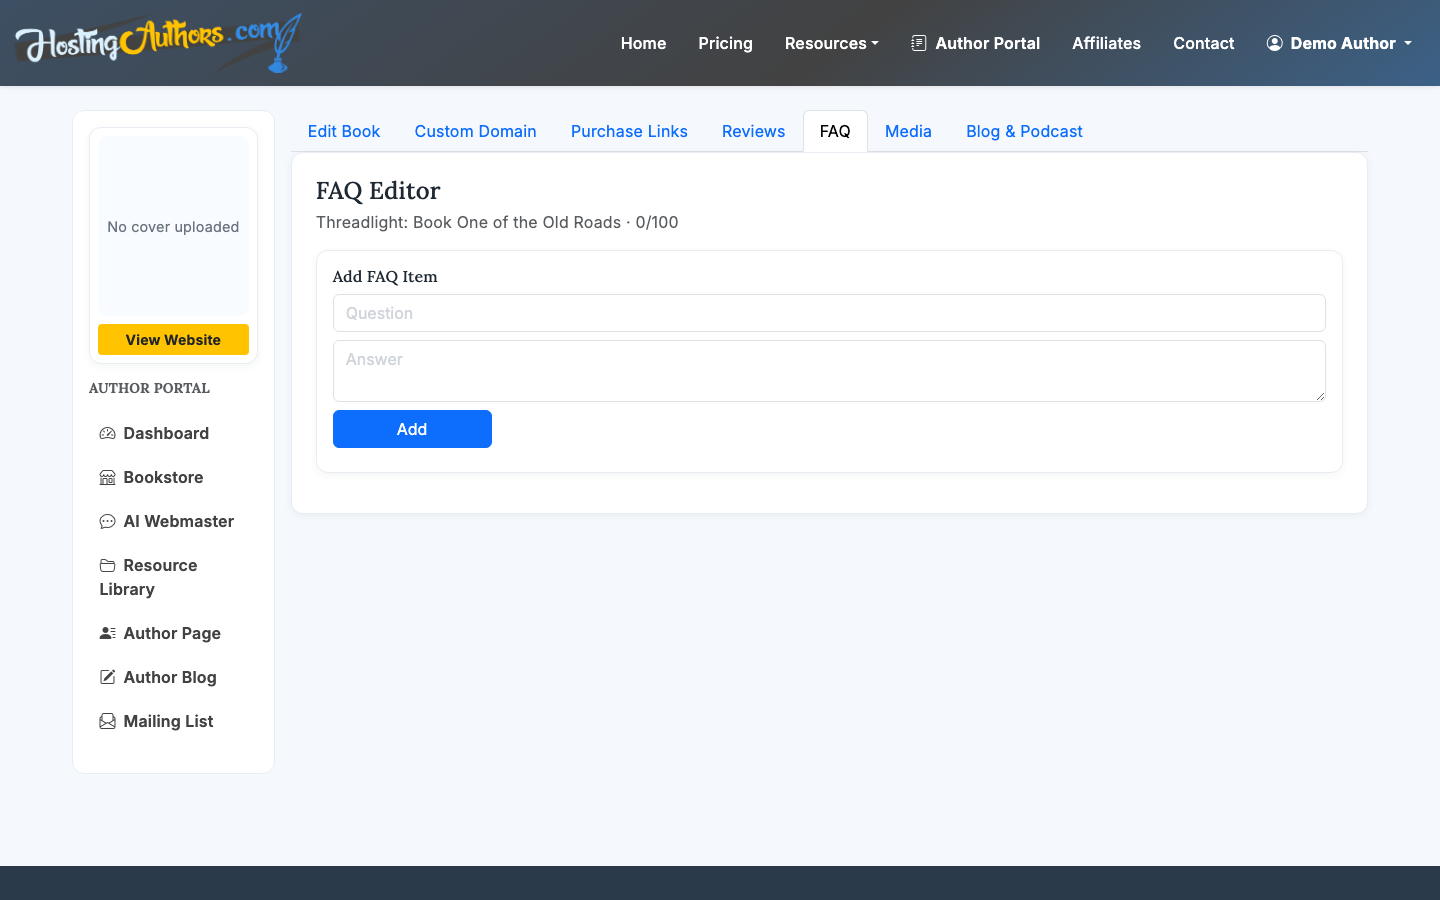
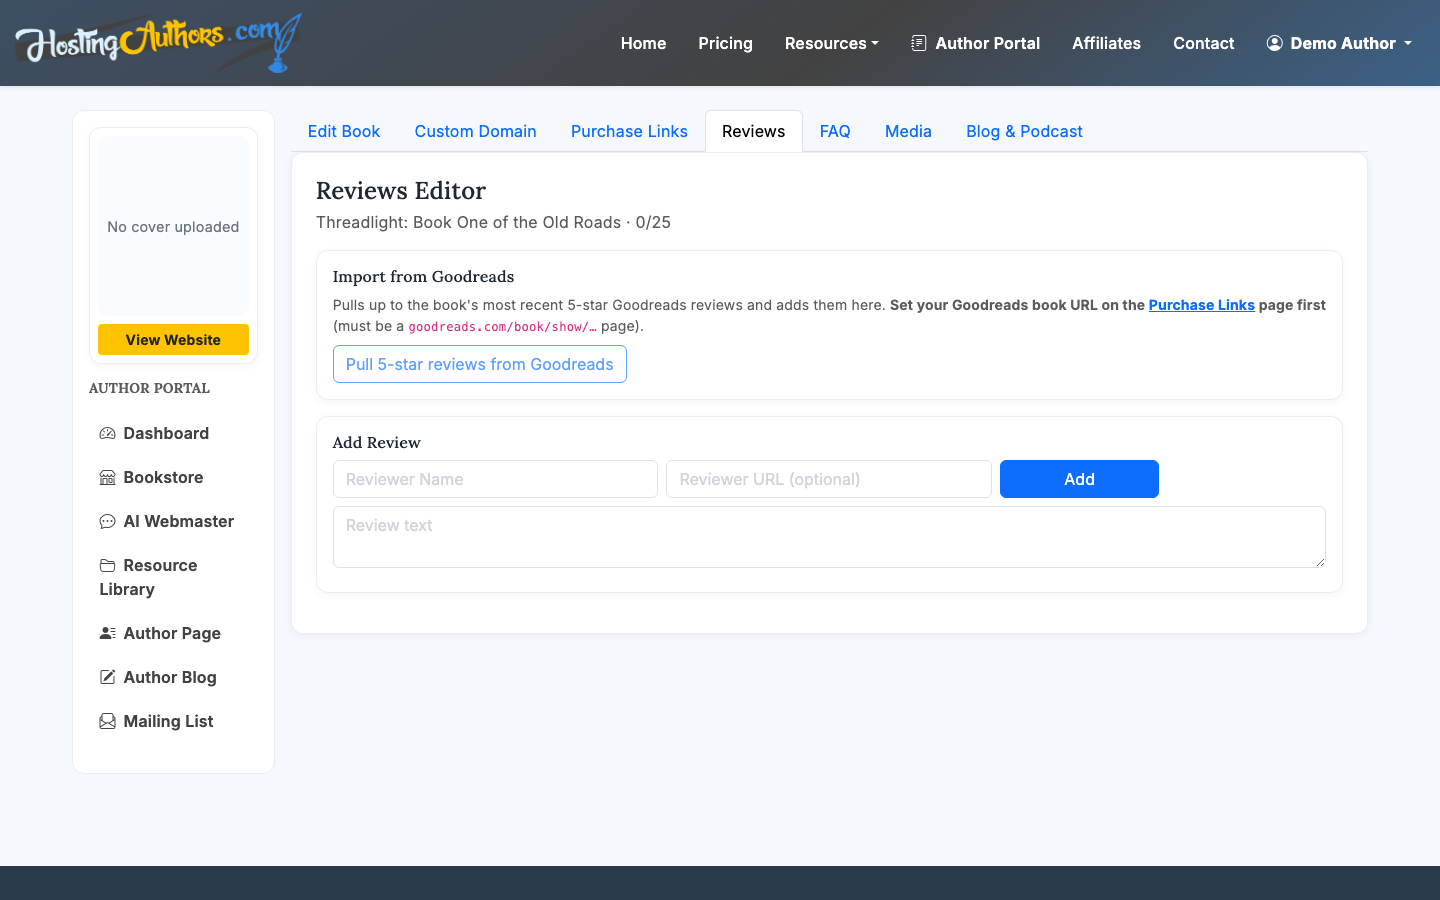
7. Add FAQ and reviews
FAQ and review sections help readers make a decision without leaving the page. Use FAQ entries for practical questions, such as reading order, content notes, format availability, classroom use, or whether the book is part of a series.
Curated reviews can add credibility when they are specific. A short review from a known publication, bookseller, librarian, educator, or reader can be more useful than a long generic blurb.
Do not overload the page. Three to six strong FAQ items and a handful of reviews are usually enough.
8. Set up your mailing list
A mailing list gives readers a next step when they are interested but not ready to buy, or when they want updates about future books. Paid HostingAuthors.com plans include a per-book mailing-list signup widget.
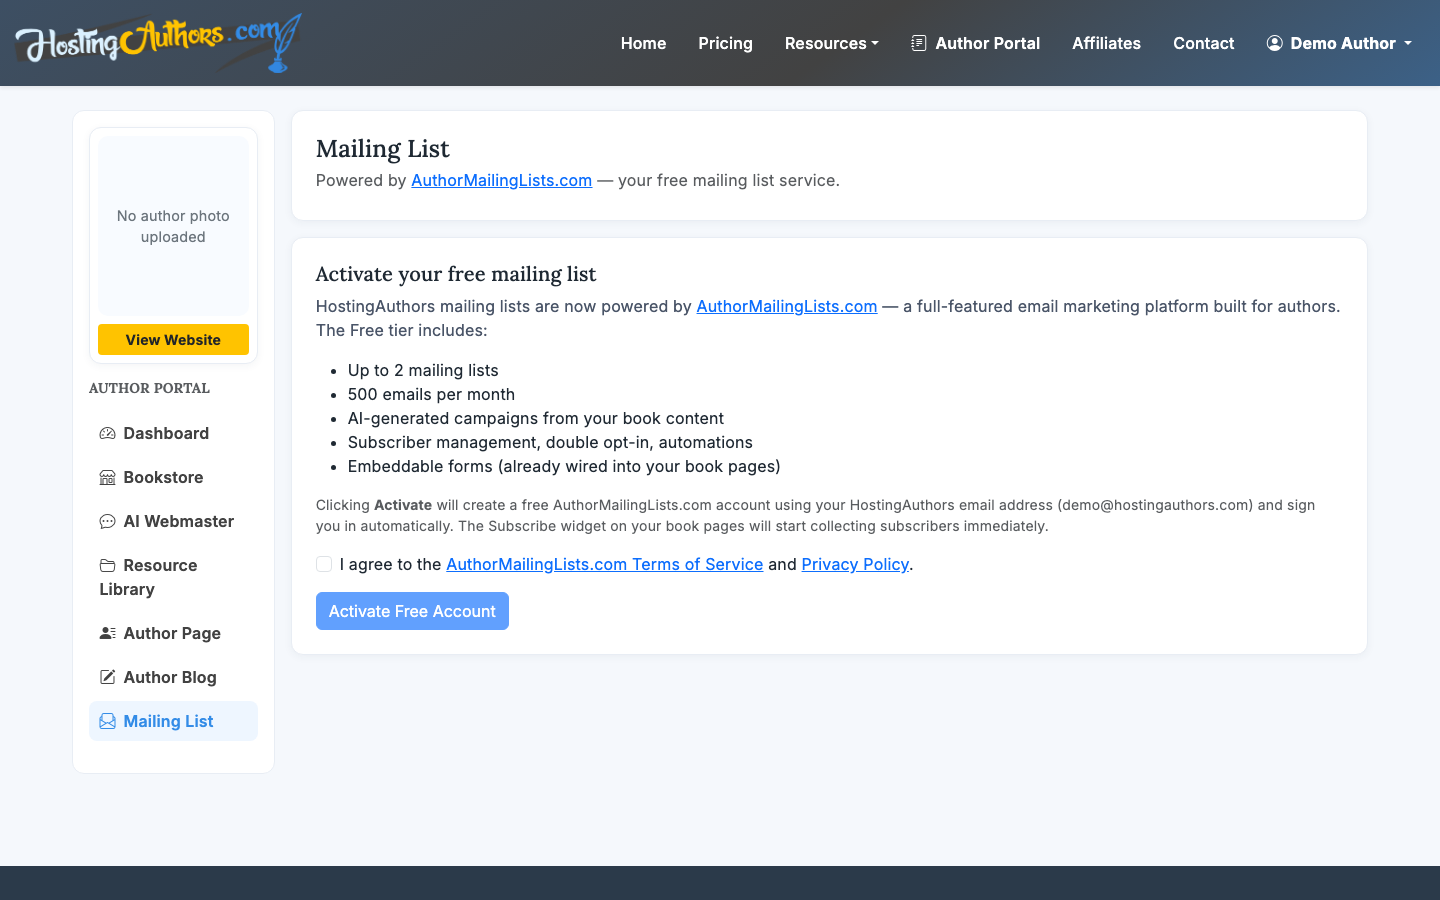
Use a specific reason to join. “Get updates” is fine, but “Get release news and bonus chapters” is stronger if you can deliver it.
9. Enable direct sales if you need them
If you want to sell ebooks, signed copies, bundles, or direct products, use the bookstore tools on plan 2 and above. HostingAuthors.com supports PayPal, Authorize.net, and Stripe, and authors keep 100% of direct bookstore revenue.
Direct sales are powerful, but they add responsibilities: fulfillment, customer support, refunds, tax handling, and file delivery if you sell digital goods. Use them when the economics or reader experience justify the extra work.
For more detail, see How to Sell Ebooks on Your Website.
What to publish first
If you are wondering how to build an author website without getting stuck, publish in this order:
- Book cover, title, and synopsis
- Buy links
- Author bio and headshot
- Mailing-list signup
- FAQ and reviews
- Direct bookstore, if needed
- Blog or podcast RSS, if you have ongoing content
That order gets the reader-facing essentials live first. You can improve the site over time without delaying launch.
Common mistakes to avoid
The biggest mistake is treating an author website like a general portfolio site. Readers usually arrive with one question: should I buy or follow this author? Your page should answer that quickly.
Avoid these problems:
- Hiding buy links below too much biography
- Using a low-resolution or outdated cover
- Publishing an author bio with no clear genre or reader promise
- Adding every possible social profile instead of the active ones
- Launching direct sales before you can fulfill orders reliably
A finished, simple author website beats a complicated draft that never goes live.